
Introduction: Transform Your Closet Space with Basket Labels
Do you ever find yourself digging through multiple baskets on your closet shelves, searching for that one specific item you need? A disorganized closet not only wastes precious time but also creates unnecessary stress in your daily routine. The solution is simpler than you might think: proper basket labeling.
Transforming your closet with a well-planned labeling system offers immediate benefits:
- Creates a visually appealing, boutique-like appearance for your storage spaces
- Saves 5-10 minutes daily by eliminating searching through multiple containers
- Increases household efficiency by making items accessible to all family members
- Maintains long-term organization, preventing the “organized today, chaotic tomorrow” cycle
In this comprehensive guide, we’ll explore various labeling methods from classic hang tags to modern adhesive options, DIY projects that elevate your organization game, and design principles that align with Tidy Treasure’s philosophy of “Organizing Life Beautifully, One Basket at a Time.”
Whether you’re revamping a small linen closet or tackling a complete walk-in wardrobe system, implementing proper organizing principles for laundry baskets and storage containers can transform even the most chaotic spaces into models of efficiency.
Planning Your Basket Labeling System
Before reaching for that label maker or crafting beautiful tags, take time to create a thoughtful organizational system. This foundation ensures your labeling efforts won’t be wasted on a flawed storage setup.
Declutter First, Label Second
Always start with decluttering:
– Remove everything from your closet shelves
– Sort items into keep, donate, and discard piles
– Group similar items together to identify natural categories
Create Logical Categories
Effective categorization makes retrieval intuitive. Consider organizing by:
– Family member (Mom’s accessories, Dad’s workout gear)
– Frequency of use (daily essentials vs. seasonal items)
– Item type (socks and underwear, scarves and hats, cleaning supplies)
– Activity (sports equipment, crafting materials, travel items)
Select the Right Baskets
Choose baskets that complement both your storage needs and shelf dimensions:
– Measure shelf height, width, and depth before purchasing
– Consider basket material based on what you’ll store (soft fabric for clothing, sturdy wicker for heavier items)
– Ensure visibility by selecting appropriate basket heights
– Plan for future needs with modular or stackable options
High-quality wicker shelf baskets offer both aesthetic appeal and durability for long-term closet organization. When selecting baskets, consider how their placement affects label visibility—baskets on higher shelves need larger labels or bottom/front placement for easy reading from below.
Creating a cohesive system also means planning for change. Will your storage needs evolve seasonally? Do you need a labeling method that can be easily updated as children grow or hobbies change? These considerations will guide your choice of labeling materials and methods in the following sections.
Tag Labels: Classic and Customizable Options
Tag labels offer timeless appeal and significant versatility for closet organization. These detachable identifiers hang from your baskets, creating an elegant, boutique-like appearance while remaining easily changeable.
Types of Tag Labels
Each material offers distinct advantages:
– Cardstock: Affordable, customizable, perfect for printing
– Wooden: Natural warmth, pairs beautifully with wicker baskets
– Metal: Industrial durability, ideal for humid environments
– Acrylic: Modern, sleek appearance with exceptional durability
– Fabric: Soft texture complements textile storage
Attachment Methods
The way you attach your tags affects both function and aesthetics:
| Attachment | Best For | Durability | Aesthetic |
|---|---|---|---|
| Twine/Jute | Natural baskets | Medium | Rustic, organic |
| Ribbon | Decorative storage | Medium | Elegant, polished |
| Ball Chain | Frequent access | High | Modern, industrial |
| Zip Ties | Secure attachment | Very High | Practical, minimalist |
Creating Tag Labels
- Select your material based on durability needs and aesthetic preference
- Cut to appropriate size (2-3 inches for visibility on most shelves)
- Create your label text using handwriting, printing, or other marking methods
- Add a reinforced hole at top center using a hole punch
- Attach to your basket using your selected fastener
Rattan shelf baskets with natural wood tag labels create a cohesive, organic aesthetic perfect for visible storage areas. The textural harmony between basket weave and wooden tags brings sophistication to otherwise utilitarian storage.
When designing tag labels, maintain consistency in size, shape, and typography across your entire closet system. This attention to detail elevates your organization from merely functional to truly designer-worthy.
Adhesive Labels: Sleek Solutions for Modern Storage
For a more integrated labeling approach, adhesive options create clean, seamless identification directly on your storage baskets. This modern solution eliminates dangling tags while maintaining a sophisticated organizational system.
Adhesive Label Options
- Printable stickers: Create custom designs with your computer and printer
- Vinyl decals: Highly durable, professional appearance, custom-cut options
- Washi tape: Decorative, removable, ideal for temporary labeling
- Label maker tape: Clean typography, consistent appearance, various colors
Surface Compatibility Guide
Not all adhesives work on all basket materials:
- Smooth plastic: Almost any adhesive works well
- Fabric: Fabric tape, iron-on labels, or sew-on options
- Wicker/Rattan: Look for strong adhesives designed for textured surfaces
- Wire baskets: Consider adhesive-backed pouches or clip-on options
Application Techniques
For perfect results every time:
1. Clean the surface thoroughly and allow to dry completely
2. Measure and mark placement before removing backing
3. Apply from center outward to prevent air bubbles
4. Press firmly for 30 seconds to activate adhesive
5. Allow 24 hours before handling extensively
The techniques used for laundry organization with wicker baskets apply equally well to closet systems. Both environments demand labels that can withstand regular handling while maintaining their appearance.
For baskets with highly textured surfaces, consider creating a smooth label area using a small piece of cardstock attached to the basket first, then applying your adhesive label to this smooth surface for better adhesion and cleaner appearance.
Clip-On Label Holders: Flexible and Fast Solutions
When your storage needs frequently change or you prefer maximum flexibility, clip-on label holders offer the perfect solution. These removable identifiers provide professional-looking organization without permanent attachment.
Types of Clip-On Labels
- Metal bin clips: Industrial appearance, exceptionally sturdy
- Plastic label holders: Lightweight, come in various colors
- Decorative clips: Combine function with aesthetic enhancement
- Card holder clips: Accept standard business cards for easy updates
Basket Edge Compatibility
Different clip styles work with different basket types:
– Thin wire edges: Spring-loaded clips or clothespin style
– Thick woven rims: Wide-mouth clips or hanging styles
– Fabric edges: Fabric-friendly clips that won’t damage material
– Solid plastic rims: Adhesive clip backs may work better than clip-ons
Square wicker baskets with clean edges provide excellent surfaces for clip-on label systems, creating an organized look that can be easily updated as your storage needs evolve.
Creating Professional Cards for Clips
For a cohesive appearance:
1. Create a template ensuring all cards are identical in size
2. Use the same font family throughout your labeling system
3. Print on heavyweight cardstock (65lb minimum) for durability
4. Consider laminating cards for humid environments like bathrooms
5. Store extra blank cards for quick updates when needed
The primary advantage of clip systems is their adaptability. As seasonal items rotate or family needs change, you can update your organization system in seconds without replacing entire labels or leaving adhesive residue behind.
Write-On and Reusable Labels: Embracing Change
For storage situations that evolve frequently, rewritable label options provide the ultimate flexibility while maintaining an organized appearance. These innovative solutions allow for ongoing customization without constant replacement.
Types of Rewritable Labels
- Chalkboard labels: Classic look, easily updated with chalk or chalk markers
- Dry-erase surfaces: Clean appearance, instantly changeable with dry-erase markers
- Erasable vinyl: Modern option that mimics permanent labels but can be modified
- Whiteboard tape: Combines adhesive convenience with rewritable function
Tools for Beautiful Handwritten Labels
The right writing implements make all the difference:
– Chalk markers (for chalkboard surfaces): Brighter, cleaner lines than traditional chalk
– Fine-point dry-erase markers: Create precise, legible text
– Paint pens: Offer semi-permanent writing that removes with alcohol
– Erasable gel pens: Provide crisp writing with mistake correction option
Maintaining Reusable Labels
To keep your system looking fresh:
1. Clean surfaces thoroughly between uses (specific cleaner for each surface type)
2. Allow to dry completely before rewriting
3. Test new markers in an inconspicuous spot
4. Create a template to maintain consistent writing size and style
5. Store appropriate markers near your storage system for quick updates
Wicker laundry basket storage ideas often incorporate reusable labeling systems since laundry categories frequently shift based on seasonal needs and family activities.
Reusable labels work especially well for children’s storage, guest room closets, and any space where contents regularly change. The ability to update without replacing labels makes this an economical choice for dynamic households.
Integrated Labels: Permanent Solutions for Fabric Baskets
Fabric storage baskets present unique labeling challenges, often requiring more integrated approaches. These permanent solutions create a professional, cohesive appearance while ensuring long-term identification.
Integrated Labeling Methods
- Sew-on labels: Classic, tailored appearance with maximum durability
- Iron-on transfers: Professional look without sewing skills required
- Fabric markers: Direct application for a custom, handcrafted appearance
- Embroidery: Premium option for heirloom-quality organization
Materials and Tools
For sew-on labels:
– Pre-made fabric labels or ribbon
– Contrasting thread
– Sharp needle appropriate for fabric weight
– Pins for positioning
For iron-on options:
– Transfer paper compatible with your printer
– Household iron
– Firm, heat-resistant surface
– Parchment paper for protection
Application Process
For sewn labels:
1. Position label on basket exterior
2. Pin in place to prevent shifting
3. Stitch around all four sides using small, consistent stitches
4. Secure thread ends inside basket when possible
For iron-on transfers:
1. Create and print design following transfer paper instructions
2. Cut closely around design
3. Position on basket
4. Apply iron according to transfer paper specifications
5. Allow to cool completely before handling
Integrated labels make the most sense for permanent storage categories that rarely change, such as holiday decorations, keepsake items, or dedicated linen categories that remain consistent year-round.
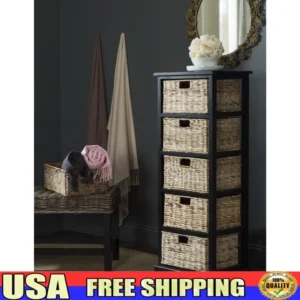

Black Wicker Baskets, Rattan Storage Baskets, Tall Wicker Baskets, Wicker Shelf Baskets, Woven Storage Baskets
5-Tier Distressed Black Wood Frame Storage Tower with Removable Wicker Baskets for Home Organization$715.80 Select options This product has multiple variants. The options may be chosen on the product page
Wicker Laundry Baskets, Woven Laundry Baskets, Woven Storage Baskets
$392.02 Select options This product has multiple variants. The options may be chosen on the product page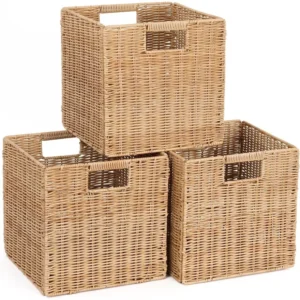
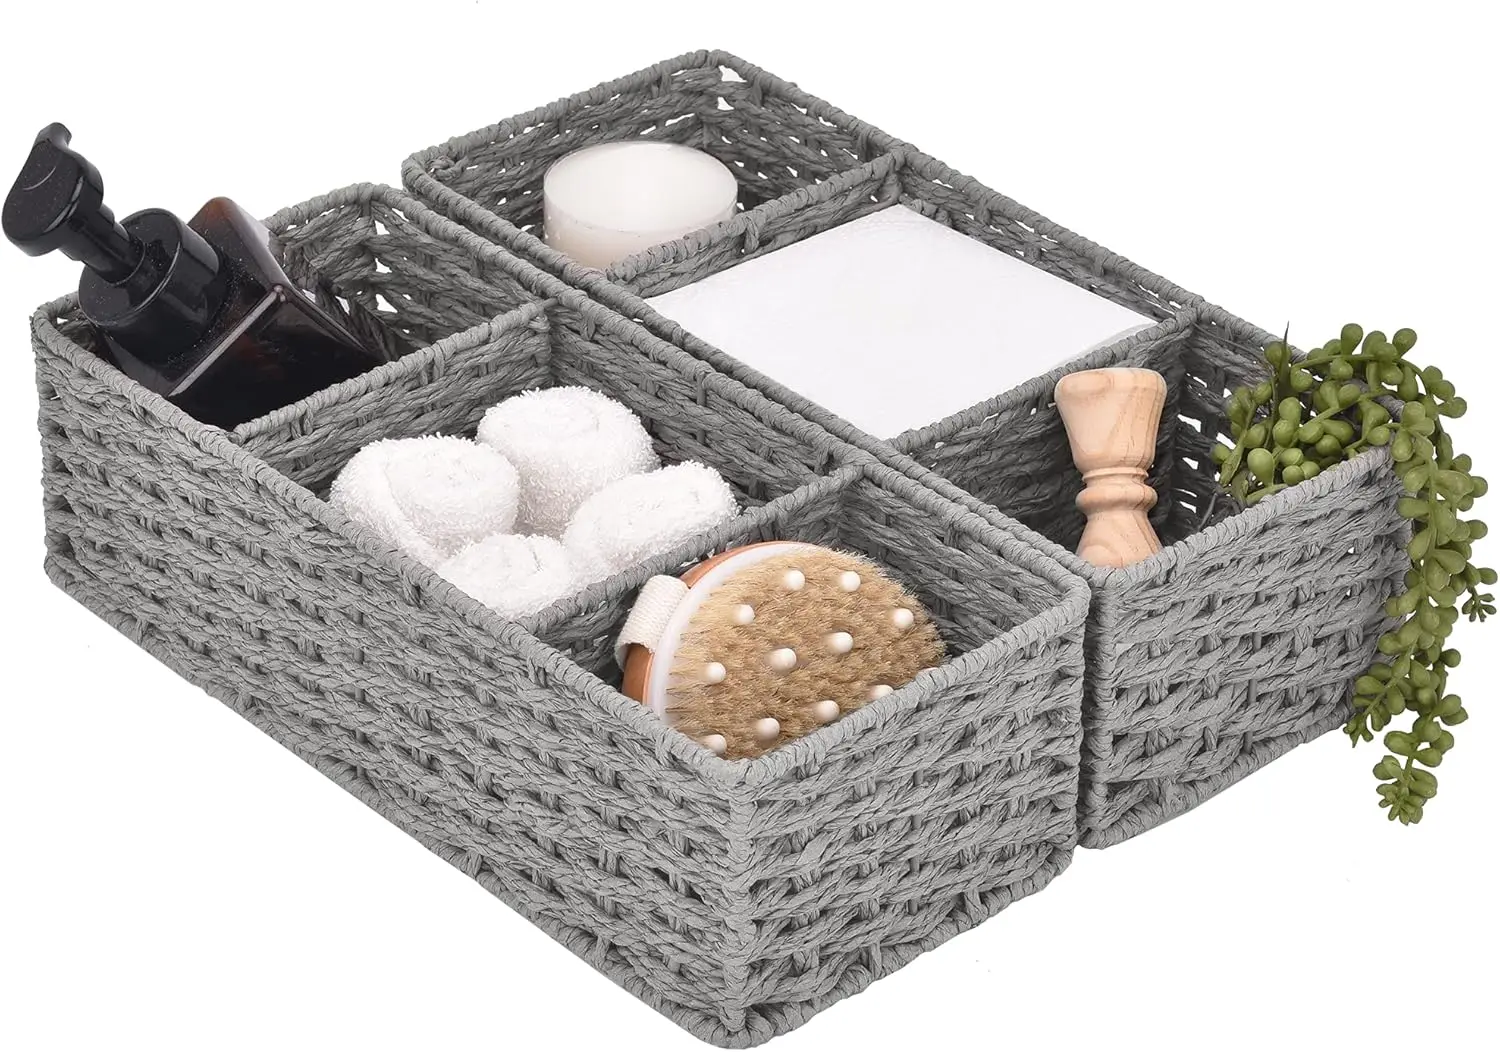
Rattan Shelf Baskets, Rattan Storage Baskets, Small Wicker Baskets, Square Wicker Baskets
Square Plastic Wicker Storage Baskets Set of 3 with Collapsible Design for Cube Storage Organization$185.47 Select options This product has multiple variants. The options may be chosen on the product page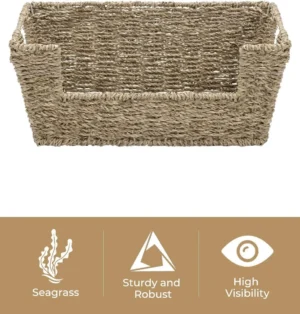

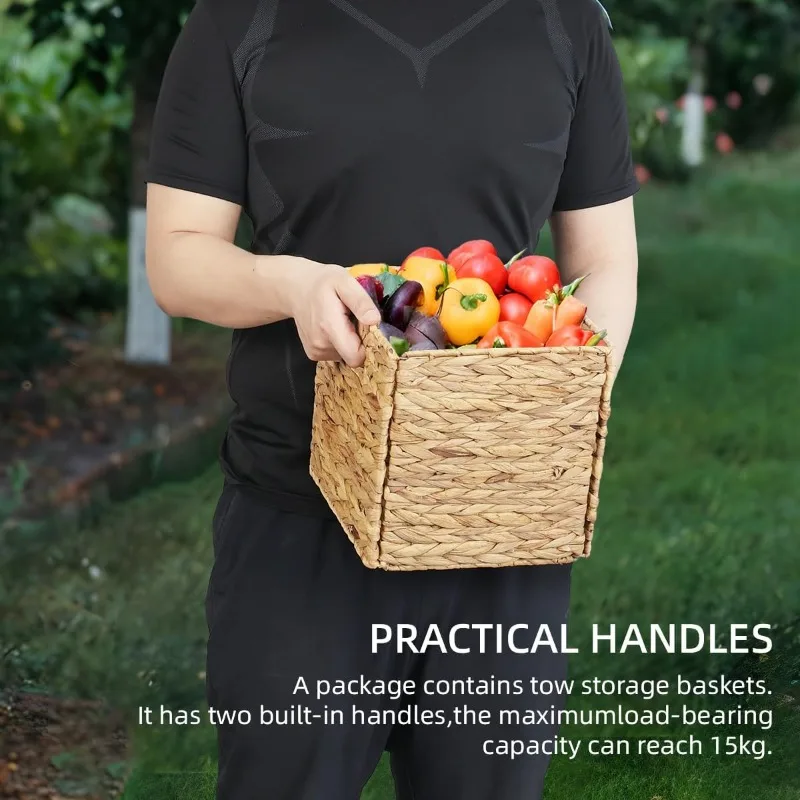
Wicker Baskets with Handles, Wicker Storage Baskets, Woven Storage Baskets
$137.92 Select options This product has multiple variants. The options may be chosen on the product page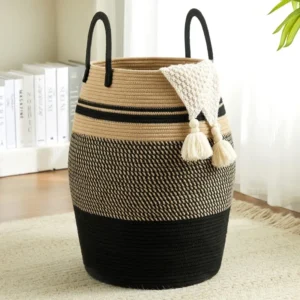
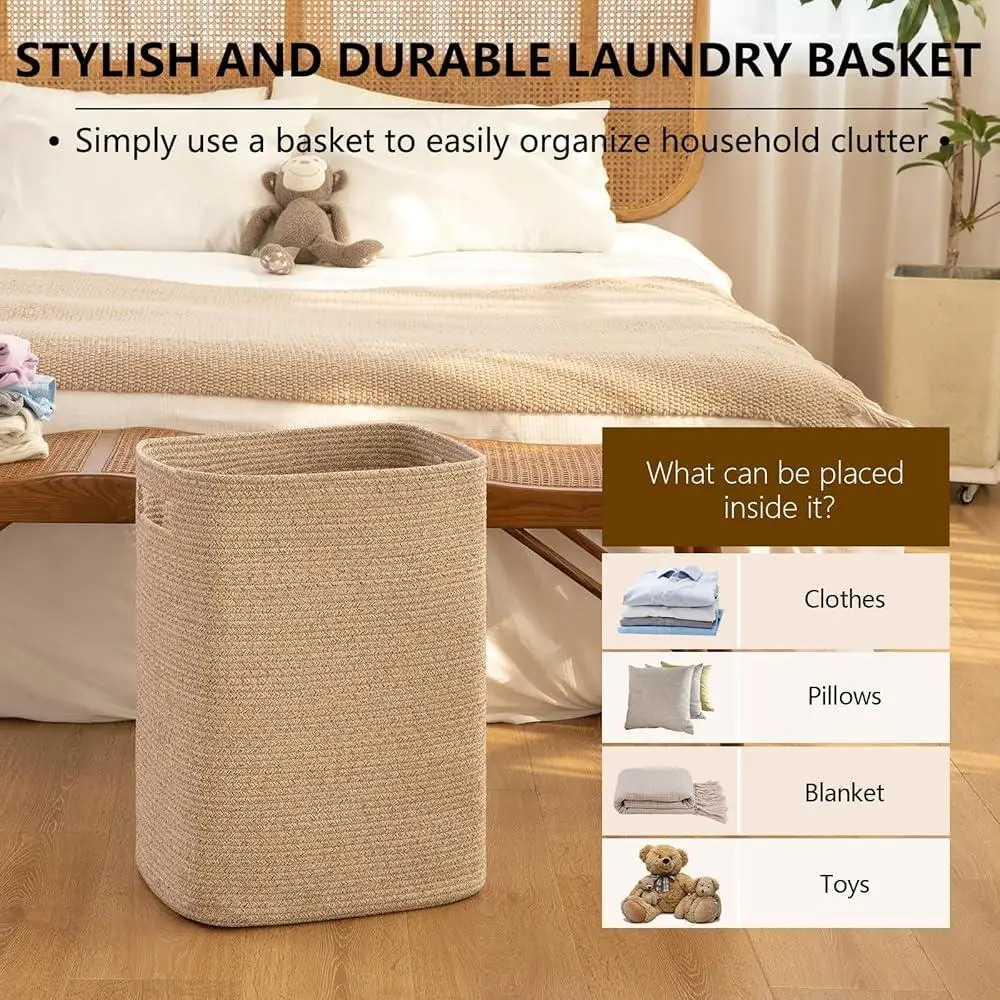
Large Wicker Laundry Baskets, Tall Wicker Baskets, Woven Laundry Hampers, Woven Storage Baskets
$130.54 Select options This product has multiple variants. The options may be chosen on the product page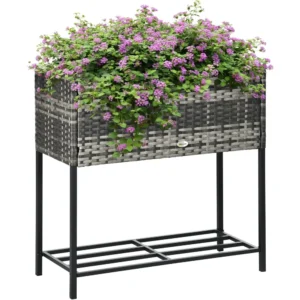
Rattan Shelf Baskets, Rattan Storage Baskets
$345.47 Select options This product has multiple variants. The options may be chosen on the product page
DIY Project: Creating Custom Printable Tags
Creating your own printed tags allows for complete customization while achieving a professional, consistent look across your entire organization system. This approachable project requires minimal supplies but delivers impressive results.
Materials List
- Cardstock (65-110 lb weight)
- Home printer
- Scissors or paper cutter
- Hole punch
- Reinforcement stickers for holes (optional)
- Attachment hardware (twine, ribbon, or rings)
- Design software or templates
- Clear laminating sheets (optional, for durability)
Design Tips
For professional-looking results:
– Use consistent fonts throughout your system (1-2 font families maximum)
– Create a template for uniform tag sizes
– Include a border for visual definition
– Consider adding small icons to enhance visual recognition
– Maintain adequate margin space around text for durability
– Use high contrast colors for maximum readability
Step-by-Step Instructions
- Create your design: Use word processing or graphic design software
- Set up template: Create a multi-tag layout to maximize paper usage
- Print: Use high-quality settings on heavyweight paper
- Cut: Use sharp scissors or a paper cutter for clean edges
- Laminate: (Optional) Cover with adhesive laminate for durability
- Punch holes: Create openings for attachments
- Attach to baskets: Use consistent hardware throughout your system
The best closet baskets for shelves deserve equally thoughtful labeling. Well-designed tags not only identify contents but also enhance the overall appearance of your storage system, turning functional items into design elements.
For multi-person households, consider color-coding your tags by family member or room destination. This visual system makes both storage and retrieval more intuitive, especially for younger family members.
DIY Project: Durable Vinyl Labels for Long-Term Use
For a more permanent and professional labeling solution, vinyl labels offer outstanding durability and a clean, modern aesthetic. This project requires some specialized materials but provides results that can withstand years of use.
Materials and Tools
- Adhesive vinyl (indoor permanent)
- Transfer tape
- Application tools (squeegee, weeding tools)
- Electronic cutting machine or pre-cut vinyl letters
- Measuring tools
- Rubbing alcohol for surface preparation
- Design software (if using cutting machine)
Design Considerations
- Keep designs simple for easier application
- Choose fonts with good readability at your intended size
- Avoid extremely thin lines that may be difficult to weed and apply
- Consider incorporating simple icons for visual identification
- Test sizes before cutting your final design
Application Process
- Prepare surface: Clean thoroughly with rubbing alcohol and allow to dry
- Cut design: Use electronic cutter or purchase pre-cut letters
- Weed excess: Remove unwanted vinyl from around your design
- Apply transfer tape: Cover your design completely
- Position carefully: Measure to ensure straight placement
- Apply with pressure: Use a squeegee tool to eliminate air bubbles
- Remove transfer tape: Peel back slowly at an angle
Troubleshooting Tips
- For textured surfaces, use stronger adhesive vinyl specifically designed for texture
- If bubbles appear, prick with a tiny pin and press flat
- For application on curved surfaces, work from center outward
- Allow 24-48 hours before heavy handling or cleaning
Vinyl labels are ideal for permanent storage categories in high-traffic areas. Their water-resistant properties make them perfect for bathroom closets or areas exposed to humidity, while their sleek appearance complements modern storage systems.
Essential Tools and Materials for Perfect Labels
Creating an organized labeling system becomes significantly easier with the right supplies on hand. This toolkit overview helps you gather everything needed for professional-looking results across any labeling method you choose.
Basic Toolkit Essentials
- Measuring tools: Ruler, tape measure, level
- Cutting implements: Precision scissors, paper cutter, craft knife
- Adhesives: Double-sided tape, glue dots, adhesive sheets
- Attachment hardware: Twine, ribbon, book rings, jump rings
- Writing tools: Fine-point markers, paint pens, metallic pens
Label Creation Tools
From simple to advanced:
– Basic: Pre-made tags, hole punch, markers
– Intermediate: Home printer, cardstock, label maker
– Advanced: Electronic cutting machine, laminator, heat press
Materials Quality Considerations
Investing in quality materials prevents frustrating failures:
– Choose acid-free papers for long-term durability
– Select UV-resistant inks to prevent fading
– Opt for weather-resistant materials in humid areas
– Ensure adhesives are appropriate for your basket material
Organizing and styling shelves becomes much easier with a well-stocked labeling toolkit. Having the right supplies encourages maintenance of your system and allows for quick updates when storage needs change.
Store your labeling supplies together in a dedicated container so you can easily maintain your organization system over time. Include spare labels, attachment hardware, and appropriate writing tools to facilitate quick updates without hunting for supplies.
Design Principles: Creating Beautiful and Functional Labels
The difference between ordinary labels and extraordinary ones lies in thoughtful design. Following these principles ensures your labels are not only functional but also enhance the overall appearance of your closet.
Typography Tips
- Choose highly readable fonts in appropriate sizes
- Limit yourself to 1-2 font families for consistency
- Use font weight (bold, regular) to create visual hierarchy
- Ensure adequate contrast between text and background
- Consider all-caps for very short labels (one or two words)
Color Theory Basics
- Select colors that complement your basket materials
- Consider using color coding for different categories
- Ensure sufficient contrast for readability
- Limit palette to 2-3 colors for a cohesive look
- Use neutral tones for timeless appeal
Size and Proportion
- Create labels proportionate to your basket size
- Consider viewing distance when determining text size
- Allow adequate white space around text
- Maintain consistent sizes throughout your system
- Test readability from typical viewing angles

Consistency Elements
Create a cohesive system by standardizing:
– Label placement on baskets
– Typography choices
– Color scheme
– Attachment methods
– Border styles or decorative elements
The most effective labeling systems balance clear communication with aesthetic appeal. Your labels should enhance your closet’s appearance while providing instant identification of contents, creating that perfect harmony between beauty and function that defines truly exceptional organization.
Advanced Tips for Professional-Looking Results
Take your closet organization from good to great with these advanced strategies. These techniques, borrowed from professional organizers, elevate your labeling system to showcase-worthy status.
Strategic Label Placement
- For high shelves: Place labels on the front bottom edge for visibility from below
- For eye-level shelves: Center labels on the front face
- For pull-out baskets: Consider top labels visible when open
- For stacked baskets: Use side labels for identification without unstacking
- For children’s items: Position at their eye level to encourage independence
Visual Systems Beyond Text
- Incorporate color coding for different family members
- Use icons alongside text for non-readers or quick visual scanning
- Consider pictorial labels for children’s items
- Implement borders or backgrounds to differentiate categories
- Use consistent symbols for frequently accessed items
Environmental Adaptations
- For bathroom closets: Use waterproof materials and lamination
- For seasonal storage: Include date ranges on labels
- For shared spaces: Add ownership information alongside contents
- For frequently changing contents: Implement easily changeable systems
- For decorative spaces: Match label style to room décor
Woven storage baskets paired with strategically designed labels create organization systems that are both functional and beautiful enough to display openly in living areas.
Photography Tips for Sharing
If you’re documenting your organization project:
– Capture before and after images from the same angle
– Ensure adequate lighting to highlight label clarity
– Style the surrounding area for a complete transformation
– Take close-ups of particularly effective labeling solutions
– Share your system in use to demonstrate functionality
Remember that the most successful organization systems are those that you can maintain long-term. Design your labels with everyday use in mind, considering who needs to access these items and how frequently they’ll be used.
Troubleshooting Common Labeling Challenges
Even the most carefully planned labeling systems can encounter obstacles. These solutions address frequent issues to help you maintain a beautiful, functional organization system.
Problem: Labels Won’t Adhere to Textured Baskets
Solutions:
– Create a smooth surface first using a small piece of cardstock attached securely
– Use hanging tags instead of adhesive options
– Try specialized textured-surface adhesives designed for difficult materials
– Consider clip-on label holders that don’t require adhesion
Problem: Crooked or Misaligned Labels
Solutions:
– Create an application template using cardboard with a cutout
– Use painter’s tape as a temporary guide for straight application
– Measure and mark with pencil before applying
– Invest in a small level tool for precise horizontal alignment
Problem: Handwriting Inconsistency
Solutions:
– Create a simple template with guidelines
– Practice on scrap paper before writing final labels
– Use letter stencils for consistent results
– Switch to printed options if handwriting remains challenging
Problem: Environmental Damage
Solutions:
– Laminate paper labels in high-humidity areas
– Use UV-resistant materials in sunny locations
– Apply clear protective coating over finished labels
– Choose waterproof options for potentially damp locations
Problem: Changing Basket Contents
Solutions:
– Implement a slide-in system with card inserts
– Use rewritable options like chalkboard or dry-erase surfaces
– Design label holders rather than permanent labels
– Keep extra supplies on hand for quick updates
Remember that perfection isn’t necessary for an effective system. Focus on clarity, consistency, and functionality first, with aesthetics as an important but secondary consideration.
Supplemental: Can I Use the Same Labeling Method for All Baskets?
While visual cohesion creates an appealing aesthetic in your closet, practical considerations sometimes require using different labeling approaches. The good news is that you can maintain a unified look even when using various label types.
When deciding whether to use consistent methods, consider:
– Basket materials (some may not accept certain label types)
– Location accessibility (high shelves may need larger labels)
– Content turnover (frequently changing contents benefit from easy-update methods)
– Environmental factors (humidity, light exposure, temperature)
Creating unity across different label types comes down to maintaining consistent elements. Even when using multiple methods, you can achieve a cohesive look by standardizing:
– Typography (use the same fonts across all label types)
– Color scheme (maintain a consistent palette)
– Size proportions (keep labels appropriately sized to their baskets)
– Visual elements (borders, icons, or decorative touches)
Wicker storage baskets with lids may require different labeling approaches than open containers, but maintaining design consistency ensures your system looks intentional and professionally planned.
Supplemental: How Often Should I Update My Basket Labels?
A truly effective organization system evolves with your needs. Rather than setting a rigid schedule, watch for these signals that your labels may need updating:
- Contents no longer match descriptions
- Labels show visible wear or damage
- Household members struggle to find items
- Storage needs have significantly changed
- Seasonal shifts require content rotation
Streamline the updating process by:
– Keeping label supplies together in an accessible location
– Maintaining digital files of printed labels for easy reprinting
– Using easily changeable systems for categories that evolve frequently
– Conducting quick quarterly reviews of your entire system
– Planning ahead for predictable changes (growing children, seasonal rotations)
Major life events often trigger reorganization needs—moving homes, welcoming a new family member, combining households, or significant lifestyle changes all present natural opportunities to revisit your labeling system.
Conclusion: Enjoy Your Beautifully Labeled Basket System
The journey from chaotic closet shelves to a beautifully organized basket system transforms more than just your storage space—it streamlines your daily routines and brings a sense of calm to your home environment. With thoughtfully labeled baskets, you’ve created a system that not only looks appealing but also functions efficiently for everyone in your household.
Remember that your organization system should serve you, not the other way around. The perfect labels are those that make your life easier while bringing visual harmony to your spaces. Whether you’ve chosen elegant hang tags for your wicker baskets, sleek vinyl labels for modern containers, or a mix of methods to meet different needs, your effort creates lasting benefits.
The beauty of a well-executed labeling system extends beyond mere functionality—it transforms utilitarian storage into a design feature worthy of display. Your closet now reflects the care and intention you bring to your home, embodying Tidy Treasure’s philosophy that organization can indeed be beautiful.

As you enjoy your newly organized spaces, remember that maintenance is far easier than the initial setup. With your thoughtfully designed labels guiding the way, maintaining order becomes second nature—a small daily investment that pays continuous dividends in time saved and stress reduced.
We’d love to see how you’ve transformed your closet spaces with these labeling techniques. Your unique solutions might be exactly what inspires another organizer on their journey to beautifully labeled basket bliss!