
Introduction to the Art of Basket Weaving
Basket weaving stands as one of humanity’s most ancient and enduring crafts, combining practicality with artistic expression in a way few other handcrafts can match. This versatile art form involves interlacing pliable materials to create containers of various shapes, sizes, and functions. More than just a practical skill, basket weaving represents a living connection to human history, with archaeological evidence suggesting that our ancestors were crafting baskets more than 10,000 years ago—predating pottery in many cultures.
Across continents and centuries, diverse cultures have developed their own distinctive basket weaving traditions. Native American tribes created baskets so tightly woven they could hold water, while African cultures developed elaborate patterns that told stories through their designs. European traditions often focused on utilitarian farm baskets, and Asian techniques frequently incorporated bamboo and complex weaving patterns.
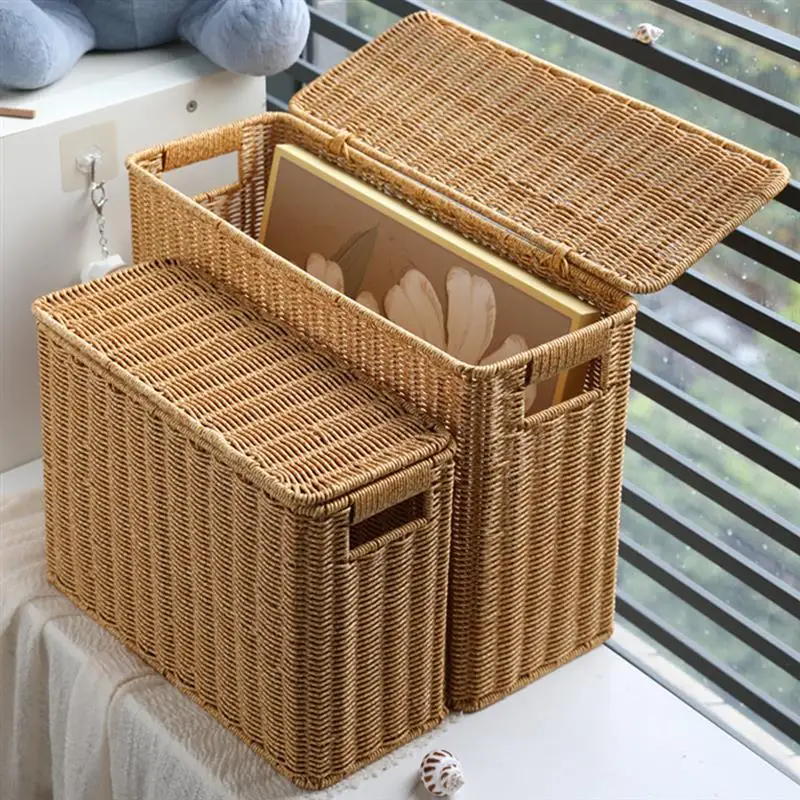
What makes basket weaving particularly appealing for beginners is its accessibility. Unlike many crafts requiring expensive equipment or dedicated workspace, basket weaving needs only basic tools and materials to get started. The craft also offers a therapeutic, mindful experience as your hands work in rhythmic patterns. Many beginners find that organizing laundry wicker baskets and other simple projects provide both practical results and creative satisfaction from the very beginning.
As you embark on your basket weaving journey, remember that your first attempts may not be perfect—and that’s entirely normal. The learning curve is gentle but rewarding, with each project building skills for the next. In today’s world of mass production, creating something beautiful and functional with your own hands connects you to a sustainable craft tradition that continues to thrive in our modern age.
Essential Basket Weaving Materials for Beginners
Selecting the right materials forms the foundation of successful basket weaving, especially for newcomers to the craft. Reed stands as the most popular and accessible material for beginners, available in several varieties that serve different functions in your basket’s structure.
Reed Types for Beginners:
Round reed: This versatile material forms the spokes or skeleton of your basket. Beginners typically start with #3 round reed (3/32 inch diameter) as it offers a good balance between flexibility and strength.
Flat reed: Available in various widths (usually 1/4 to 3/4 inch), flat reed weaves easily between spokes and creates smooth surfaces. The 1/4-inch width works well for most beginning projects.
Flat-oval reed: This combines the benefits of both flat and round reed, providing strength while maintaining flexibility. It’s particularly useful for rims and handles where extra durability matters.
Beyond reed, several natural alternatives offer different textures and appearances:
- Willow: More flexible than reed but requires more skill to work with
- Pine needles: Creates distinctive spiral baskets with a woodsy scent
- Raffia: Plant fiber excellent for decorative elements and lightweight baskets
- Seagrass: Offers interesting texture and natural color variations
For those with plant allergies or sustainability concerns, synthetic weaving materials provide an alternative. These include paper fibers, recycled plastic strips, and fabric yarns, though they create a different aesthetic than natural materials.
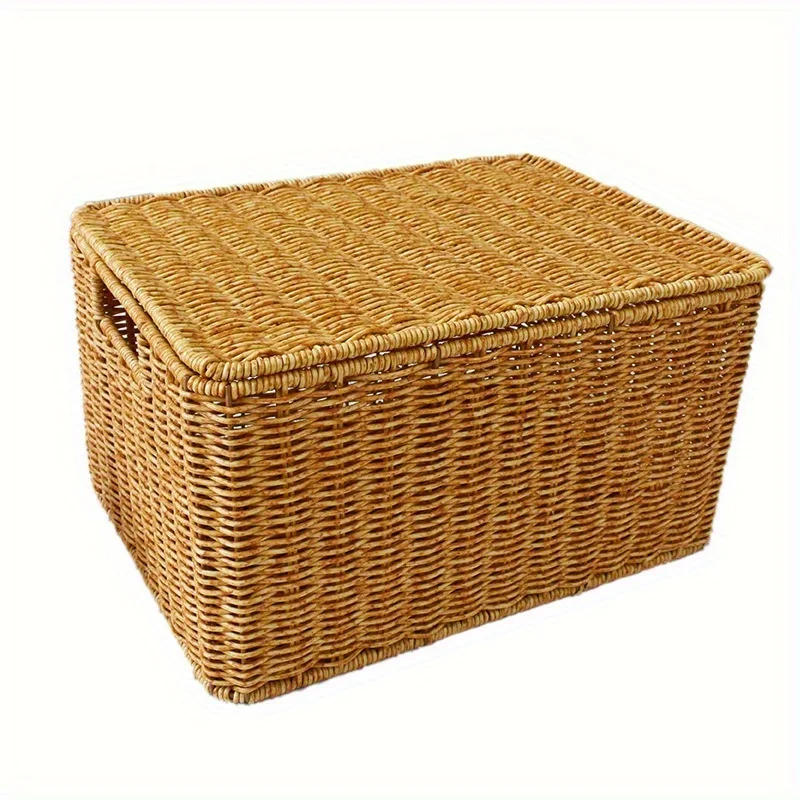
Your choice of material directly impacts your basket’s appearance, durability, and difficulty level. Beginners should start with reed before experimenting with other options, as its consistent behavior makes learning techniques easier. The beautiful versatility of wicker baskets demonstrates how different materials create unique visual effects in the finished product.
With basic materials costing between $30-50 for your first few projects, basket weaving remains an affordable craft to begin exploring.
Where to Source Quality Basket Weaving Supplies
Finding quality materials significantly impacts your basket weaving success and enjoyment. Several options exist for sourcing supplies, each with distinct advantages for beginners.
Specialty Craft Suppliers:
* Offer the widest selection of basket weaving materials
* Provide materials specifically sized and prepared for weaving
* Often include detailed descriptions and usage recommendations
* May have higher prices but better quality control
General Craft Stores:
* More accessible for in-person shopping
* Sometimes carry basic reed and tools in the crafting section
* Allow you to examine materials before purchasing
* May have limited selection compared to specialty suppliers
When selecting materials, quality indicators include consistent coloration, flexibility without breakage, and uniform sizing. Avoid reed with discoloration, brittleness, or splintering edges—these issues will cause frustration during weaving.
Starter kits present an excellent option for beginners, typically including pre-cut materials, basic tools, and step-by-step instructions for a complete project. While slightly more expensive than buying individual components, the curated selection ensures compatible materials and appropriate quantities for your first basket.
Ethical and sustainable sourcing deserves consideration as you develop your craft. Look for suppliers who harvest materials responsibly or offer sustainably grown options. Many specialty baskets showcase how quality materials elevate the finished product, providing inspiration for your own creations.
Remember that investing in quality materials from the beginning prevents common frustrations that might otherwise discourage you from continuing. A successful first project built with proper materials creates confidence and enthusiasm for your next weaving adventure.
Must-Have Tools for the Beginning Basket Weaver
The right tools make basket weaving more enjoyable and successful, especially for beginners. While you don’t need an extensive collection to start, several essential implements will significantly improve your weaving experience.
Essential Cutting Tools:
* Sharp scissors: Look for heavy-duty craft scissors that can cleanly cut soaked reed without crushing it.
* Pruning shears or garden clippers: These provide the leverage needed for cutting thicker materials like handles and rims.
Shaping Tools:
* Awl: This pointed tool creates spaces between woven elements when adding new spokes or weavers.
* Packing tool: A flat, somewhat blunt implement (often bone or plastic) helps tighten weaving by pushing weavers firmly against each other.
Measuring Tools:
* Tape measure: Essential for consistent spoke length and weaver measurements.
* Clothespins or clips: These help maintain even spacing between spokes during the critical base-weaving stage.
Soaking Equipment:
* Spray bottle: Keeps partially completed work moist during the weaving process.
* Plastic basin: Used for soaking reed and other materials before weaving.
While specialty basket weaving tools exist, many household items can substitute effectively for beginners. For instance, a flathead screwdriver can replace an awl, and kitchen shears might substitute for dedicated reed cutters. These budget-friendly alternatives allow you to begin without a significant investment.
Safety precautions remain important even with simple tools. Always cut away from yourself, store sharp items with protective covers, and keep tools dry to prevent rust. Understanding how to use essential tools for basket weaving properly helps prevent both material waste and potential injuries.
As your skills develop, you might choose to invest in higher-quality specialized tools, but these basics will serve you well through many projects. The combination of proper materials and appropriate tools creates the foundation for successful basket weaving.
Preparing Your Materials: The Soaking Process
Proper material preparation stands as perhaps the most critical step in successful basket weaving. Skipping or rushing this process almost guarantees frustration, as dry materials resist bending and frequently snap rather than conform to your weaving pattern.
Reed and most natural weaving materials require thorough soaking before use. This hydration restores flexibility, making the fibers pliable enough to weave without breaking. For reed, the primary material most beginners use, follow these soaking guidelines:
- Fill a basin or container with room-temperature water (cold water works but takes longer)
- Submerge materials completely, using weights if necessary to keep everything underwater
- Soak according to material thickness:
* Thin materials (#1-3 round reed): 15-30 minutes
* Medium materials (#4-6 round reed): 30-45 minutes
* Thick materials (handles, rims): 45-60 minutes or more
You’ll know materials are properly soaked when they bend easily without showing white stress marks at the bend points. Undersoaked reed will snap or create permanent creases that weaken your basket structure. Conversely, oversoaking can make reed too soft and mushy, potentially leading to mold or discoloration.
Throughout the weaving process, keep a spray bottle nearby to mist materials that begin drying out. Working with consistently moist materials ensures smoother weaving and prevents the frustrating stops and starts of resoaking dried pieces.
Different materials have unique soaking requirements—willow typically needs longer soaking than reed, while raffia needs only brief dampening. Always research specific preparation instructions when working with new materials.
This careful preparation directly impacts your weaving experience. Properly soaked materials respond predictably to your hands, allowing you to focus on technique rather than fighting with stiff, resistant materials.
Understanding Essential Basket Weaving Terminology
Learning basket weaving terminology provides the foundation for following patterns and instructions as you develop your skills. This vocabulary also helps you communicate with other weavers and understand the structural elements of your creations.
Structural Elements:
* Stakes or spokes: These rigid elements form the basket’s skeleton, extending from the base through the sides. They provide the framework around which weaving occurs.
* Base: The bottom portion of the basket where stakes or spokes are arranged in a specific pattern (typically cross-shaped for square baskets or star-shaped for round ones).
* Sides: The vertical portion of the basket formed when spokes are “upset” (bent upward) from the base.
* Rim: The finished top edge of the basket that provides structural stability and a clean appearance.
Weaving Elements:
* Weavers: The flexible materials woven between stakes to create the basket’s body. These form the visible pattern of the basket.
* Weft: Another term for the weaving material that passes horizontally through the vertical stakes.
Common Techniques:
* Randing: The basic over-under weaving pattern using a single weaver.
* Twining: A technique using two weavers twisted between stakes for strength and decorative effects.
* Plaiting: Weaving multiple elements in a checkerboard pattern.
* Waling: A sturdy weaving technique where multiple weavers cross over two or more stakes at a time, creating a rope-like appearance.
* Upsetting: The process of bending spokes upward from the base to form the sides of the basket.
Different weaving traditions may use variant terminology—Native American traditions often refer to “coiling” techniques, while European traditions might use terms like “slath” for certain stake arrangements. Understanding these fundamental terms allows you to follow instructions with confidence and build your knowledge progressively as you explore more complex patterns.
Basic Basket Weaving Techniques for Beginners
Mastering a few fundamental techniques creates the foundation for countless basket variations. Each technique serves a specific purpose in basket construction, and understanding them sequentially helps create a strong, functional basket.
Creating a Base:
For a round base, arrange an even number of soaked spokes in a star pattern, with half the spokes positioned horizontally and half vertically, interlacing them at the center. Secure this arrangement with a simple weaving technique called “pairing” (using two weavers) to lock the spokes in place. Work outward in a spiral until your base reaches the desired diameter.
For a square base, arrange spokes in a grid pattern and weave across them horizontally and vertically to create the foundation. Maintain even tension as you weave to ensure a flat, stable base.
Upsetting Spokes:
Once your base reaches the desired size, bend each spoke upward at a 90-degree angle to form the sides of your basket. This critical transition, called “upsetting,” establishes your basket’s shape. Keep spoke spacing even during this process—many beginners use clothespins to maintain consistent distance between spokes.
Basic Weaving Patterns:
The simplest weaving pattern, randing, involves a single weaver going over one spoke and under the next, continuing around the basket. When your weaver ends, overlap a new one by tucking it alongside the previous weaver for several spokes before continuing the pattern.
Pairing uses two weavers and creates a twisted appearance that adds strength. Begin with two weavers behind adjacent spokes, then cross the right weaver over the left and behind the next spoke. Continue this alternating pattern around the basket.
Shaping Techniques:
Shape control happens through tension management. For straight sides, maintain consistent tension throughout. For a bulging basket, apply less tension in the middle sections. For an inward taper, increase tension as you weave upward. Learning to manage beginner basket weaving methods effectively gives you control over your basket’s final form.
Maintaining Consistency:
The key to attractive basket weaving lies in consistency—even spacing between spokes, uniform tension on weavers, and regular patterns. Take your time and periodically check your work from different angles to ensure symmetry.
Step-by-Step: Creating Your First Round Reed Basket
This project introduces fundamental techniques while creating a useful basket approximately 6 inches (15 cm) in diameter and 3 inches (7.6 cm) tall—perfect for keys, small trinkets, or decorative items.
Materials Needed:
* 8 pieces of #3 round reed, each 20 inches (51 cm) long for spokes
* 1 piece of #2 round reed, approximately 36 inches (91 cm) long for base locking
* 10-12 pieces of #2 round reed, each 48 inches (122 cm) long for weaving
* Basin for soaking reed
* Scissors or clippers
* Spray bottle with water
* 8 clothespins or clips
Estimated Time: 3-4 hours for beginners
Step 1: Prepare Base Spokes (15 minutes)
1. Soak all reed pieces for 30 minutes until completely flexible
2. Arrange 4 spokes horizontally and 4 spokes vertically in a star pattern
3. Interlace them so they alternate over and under each other at the center point
4. Adjust until the spokes are evenly spaced like spokes on a wheel
Step 2: Secure Base Center (20 minutes)
1. Fold a piece of #2 round reed in half to mark its center
2. Place the fold behind a spoke near the center
3. Bring both ends of this weaver over the spoke, then separate them
4. Weave each end under and over successive spokes, creating a pairing pattern
5. Complete 3 full rounds of pairing to secure the center
Step 3: Complete Base (30-45 minutes)
1. Switch to single weaving (randing) with one weaver going over one spoke, under the next
2. When a weaver runs out, overlap a new one alongside it for 2-3 spokes
3. Continue until your base diameter reaches approximately 3-4 inches (7.6-10 cm)
4. Keep base flat by maintaining even tension and spacing
Step 4: Upset Spokes (15 minutes)
1. Bend each spoke upward at a 90-degree angle from the base
2. Use clothespins to hold spokes at even intervals if necessary
3. Spray with water if reed begins to dry out
Step 5: Weave Sides (60-90 minutes)
1. Continue with randing (over one, under one) around the basket
2. Maintain even tension for straight sides
3. Press each row down firmly against the previous one
4. Weave until sides reach approximately 3 inches (7.6 cm) high
Step 6: Create Simple Border (30-45 minutes)
1. Soak spoke ends again if they’ve dried out
2. Bend each spoke to the right, in front of the next spoke and behind the second spoke
3. Cut excess length after tucking behind the second spoke
4. Continue until all spokes are secured in this pattern
The finished basket will have a rustic, handcrafted appearance that round wicker baskets are known for. Don’t worry if your first attempt isn’t perfect—each basket teaches valuable lessons for the next one.
Troubleshooting Common Beginner Challenges
Even experienced basket weavers encounter challenges. Learning to identify and solve common problems will help you improve quickly and enjoy the process more.
Uneven Weaving or Gaps:
* Problem: Inconsistent spacing between rows or spokes.
* Solution: Use your packing tool to gently push weavers close together. If necessary, add an extra weaver in sparse sections to fill noticeable gaps.
* Prevention: Maintain consistent tension and regularly check your work from different angles.
Misshapen Baskets:
* Problem: Basket sides bulge unevenly or tilt to one side.
* Solution: For minor issues, gently reshape while damp. For severe problems, consider it a learning experience for your next project.
* Prevention: Maintain even spoke spacing using clothespins during the critical upsetting stage, and check symmetry frequently while weaving.
Breaking or Splitting Stakes:
* Problem: Spokes snap when bent or show splitting.
* Solution: If a spoke breaks near the top, you can often splice in a new piece by overlapping them for several inches. If it breaks near the base, you may need to weave a replacement spoke alongside it.
* Prevention: Ensure materials are properly soaked, and never force a bend that meets resistance.
Difficulty Finishing the Rim:
* Problem: Spokes are too short, brittle, or uncooperative for the border.
* Solution: Re-soak rim area thoroughly before attempting border work. If spokes are too short, you can sometimes add extensions by overlapping new pieces.
* Prevention: Leave extra length on spokes when cutting initially, and keep material consistently moist.
Remember that mistakes are valuable teachers in basket weaving. Many DIY wicker basket weaving tutorials demonstrate how to recover from common errors. Even if your first basket isn’t perfect, it still represents a significant accomplishment and provides practical insights for future projects.
With each basket you make, these challenges become less frequent as your hands develop muscle memory and your eye becomes trained to spot potential issues before they develop.
Finishing Touches: Borders and Embellishments
The border of your basket serves both functional and aesthetic purposes—it secures loose ends while adding a polished appearance to your creation. For beginners, a simple border technique creates an attractive finish without requiring advanced skills.
Simple Open Border Technique:
1. Ensure all spokes are of equal length and thoroughly soaked
2. Bend one spoke to the right, passing it in front of the next spoke
3. Continue behind the second spoke and out to the front
4. Trim excess length to approximately 1/2 inch (1.3 cm) and tuck inside the basket
5. Repeat with each spoke until all are secured
Beyond borders, several embellishments can personalize your basket:
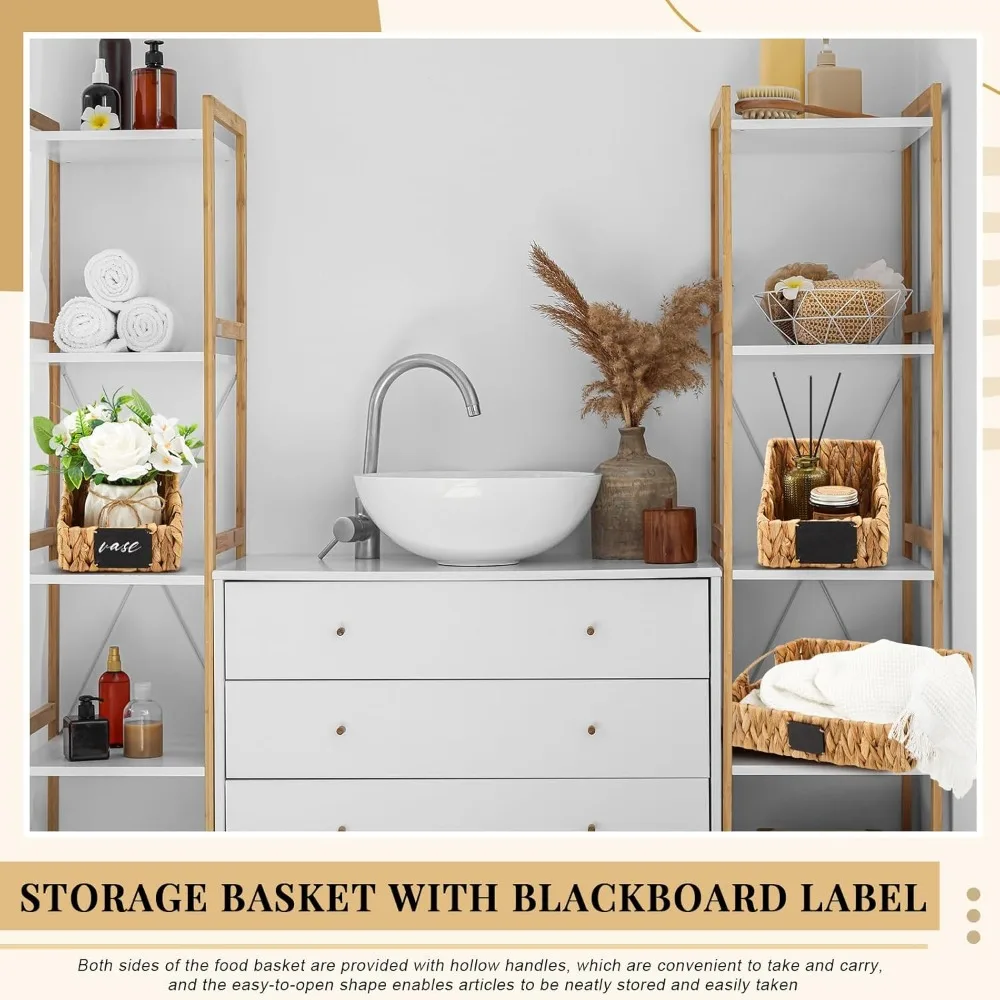
Handles: Add functionality with a simple handle by inserting additional spokes during construction or attaching a pre-formed handle after completion.
Colored Elements: Incorporate dyed reed for visual interest—either purchase pre-dyed material or experiment with natural dyes like walnut hulls (brown), tea (tan), or berries (purple/red).
Decorative Weaves: Integrate decorative rows using specialty techniques like twining or triple-weaving at strategic points in your basket.
The embellishments you choose should complement your basket’s purpose. A decorative display basket might feature intricate colored patterns, while a utilitarian gathering basket benefits more from sturdy handles and reinforced base.
When selecting finishing elements, consider how they affect both appearance and functionality. A delicate Japanese-inspired border might look beautiful on a display basket but wouldn’t withstand regular handling. Conversely, a robust rim with thick reed reinforcement provides durability for everyday use baskets.

Caring for Your Handcrafted Baskets
Proper care ensures your handcrafted baskets remain beautiful and functional for years. Natural fiber baskets require specific maintenance to prevent damage from environmental factors.
Cleaning Recommendations:
* Remove dust regularly with a soft brush or vacuum attachment
* For deeper cleaning, wipe with a slightly damp cloth and mild soap if necessary
* Avoid soaking completed baskets, as prolonged moisture causes warping
* Let baskets air dry completely if they become wet
Storage Guidelines:
* Store baskets in a climate-controlled environment when possible
* Avoid direct sunlight, which can fade natural materials
* Don’t stack heavy objects inside delicate baskets
* Place tissue paper inside stored baskets to help maintain their shape
Humidity Considerations:
* Extremely dry environments may cause reed to become brittle—maintain moderate humidity
* In very humid conditions, check occasionally for mold or mildew
* If mildew appears, clean with a solution of one part white vinegar to four parts water, then dry thoroughly
Reshaping Tips:
* If a basket becomes slightly misshapen, mist it lightly with water
* Gently reshape while damp, then allow to dry completely
* Place weights or forms inside to maintain the desired shape while drying
With proper care, your handcrafted baskets will develop a beautiful patina over time rather than deteriorating. This aging process actually enhances the character of natural fiber baskets, making them more valuable as they mature.
Taking Your Skills Further: Next Steps in Basket Weaving
As your confidence grows with basic techniques, exciting opportunities emerge to expand your basket weaving repertoire. Each new skill builds upon your foundation while introducing fresh creative possibilities.
Progression Path for Skill Development:
* Master varied base shapes (oval, rectangular, asymmetrical)
* Experiment with wall shaping (flared, curved inward, sculptural)
* Try advanced rim and border techniques (wrapped rims, braided borders)
* Incorporate mixed materials (combining reed with bark, wood, or fabric)
Recommended Next-Level Projects:
* Market Basket with Handle: Introduces handle insertion techniques
* Twill-Weave Bread Basket: Teaches decorative weaving patterns
* Lidded Storage Container: Develops precision fitting skills
Exploring different materials adds dimension to your skills. Beyond reed, consider working with locally available natural materials like willow branches, pine needles, or grasses. Each material brings unique properties and traditional techniques worth studying.
The rich cultural heritage of basket weaving offers endless inspiration. Research distinctive styles like tight-coiled Hopi baskets, intricate Nantucket lightship baskets, or practical Appalachian ribbed baskets. Understanding different basket weaving styles enriches your appreciation of the craft’s diversity.
As you advance, focus on developing your personal aesthetic. Some weavers prefer rustic, natural looks that showcase the materials, while others pursue precision and technical perfection. Your unique approach will emerge through experimentation and practice.
Remember that basket weaving connects you to one of humanity’s oldest continuous craft traditions. By developing these skills, you join countless generations of weavers who have transformed simple materials into objects of both beauty and purpose.

Black Wicker Baskets, Rattan Storage Baskets, Tall Wicker Baskets, Wicker Shelf Baskets, Woven Storage Baskets
5-Tier Distressed Black Wood Frame Storage Tower with Removable Wicker Baskets for Home Organization$715.80 Select options This product has multiple variants. The options may be chosen on the product page
Wicker Laundry Baskets, Woven Laundry Baskets, Woven Storage Baskets
$392.02 Select options This product has multiple variants. The options may be chosen on the product page
Rattan Shelf Baskets, Rattan Storage Baskets, Small Wicker Baskets, Square Wicker Baskets
Square Plastic Wicker Storage Baskets Set of 3 with Collapsible Design for Cube Storage Organization$185.47 Select options This product has multiple variants. The options may be chosen on the product page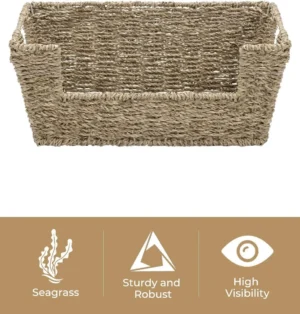

Wicker Baskets with Handles, Wicker Storage Baskets, Woven Storage Baskets
$137.92 Select options This product has multiple variants. The options may be chosen on the product page
Large Wicker Laundry Baskets, Tall Wicker Baskets, Woven Laundry Hampers, Woven Storage Baskets
$130.54 Select options This product has multiple variants. The options may be chosen on the product page
Wicker Blanket Baskets, Woven Laundry Baskets
$89.60 Select options This product has multiple variants. The options may be chosen on the product page
Is Basket Weaving an Expensive Hobby to Start?
Basket weaving ranks among the more affordable crafts to begin, with minimal initial investment required for satisfying results. A basic starter kit with essential tools and materials typically costs between $50-80, making it accessible for most budgets.
Initial Investment Breakdown:
* Basic tool set (scissors, awl, packing tool): $15-25
* Starter reed package (various sizes): $25-40
* Instructional resources: $0-20 (many free tutorials exist online)
The cost comparison between purchasing individual supplies versus kits deserves consideration. While starter kits typically cost about 15-20% more than buying components separately, they eliminate guesswork by providing compatible materials in appropriate quantities. For absolute beginners, this convenience often justifies the slight premium.
A budget-friendly approach involves:
* Substituting household items for specialized tools when possible
* Starting with smaller projects that require less material
* Reusing packaging materials as soaking containers
* Sharing resources with other crafters or joining a weaving group
When calculating long-term value, consider that your tools will last for many projects, effectively lowering the per-basket cost over time. A typical beginner basket requires $8-15 in materials, making it quite reasonable compared to purchasing similar handcrafted items. As you advance to creating larger or more complex woven storage baskets, material costs increase proportionally, but so does the value of your finished pieces.
The craft’s affordability, combined with the satisfaction of creating useful items, makes basket weaving an excellent choice for those seeking a rewarding hobby without significant financial commitment.
Can Anyone Learn Basket Weaving?
Basket weaving stands as one of the most accessible crafts, welcoming participants across a wide spectrum of ages, physical abilities, and skill levels. While some crafts require substantial strength or dexterity, basic basket weaving techniques can be adapted to accommodate various physical limitations.
Most beginners can complete a simple basket in their first attempt, though achieving consistency and refined technique naturally takes practice. Expect your first few baskets to show some unevenness—this is both normal and part of the learning process. Most beginners notice significant improvement by their third or fourth project as muscle memory develops.
For those with specific physical considerations:
* Hand strength limitations: Start with thinner, more flexible materials and smaller projects
* Vision challenges: Choose high-contrast materials (light and dark reeds) and work in well-lit conditions
* Mobility restrictions: Pre-cut materials and portable weaving stands can simplify the process
The qualities that contribute most to basket weaving success aren’t physical but temperamental—patience, attention to detail, and willingness to practice. The rhythmic nature of weaving often appeals to those who enjoy meditative activities and visible progress.
Many instructors report that students with diverse backgrounds and abilities find their own approaches to the craft. Some excel at precise, technical work, while others develop more intuitive, artistic styles. This versatility makes basket weaving uniquely accommodating to different learning styles and creative visions.
How Does Basket Weaving Compare to Other Fiber Arts?
Basket weaving shares important similarities with other fiber arts like knitting, crochet, and macramé, while offering distinctive characteristics that appeal to many crafters. Understanding these connections helps you apply existing skills or determine which craft might best suit your interests.
Shared Skills Across Fiber Arts:
* Tension control: Maintaining consistent tightness in your work
* Pattern recognition: Following repeated sequences of movements
* Spatial awareness: Visualizing how elements interact in three dimensions
* Hand-eye coordination: Precise manipulation of materials
Unique Aspects of Basket Weaving:
* Creates rigid, self-supporting structures rather than flexible textiles
* Typically works with plant-based materials instead of yarn or thread
* Focuses on functional objects more often than decorative pieces
* Usually completes projects in hours or days rather than weeks
Basket weaving complements other fiber crafts beautifully. Knitters and crocheters often appreciate how quickly basket projects reach completion, while textile artists might incorporate basket techniques to create structural elements in mixed-media pieces. The principles of effortless laundry organization with wicker baskets demonstrate how basket weaving creates practical solutions that fabric crafts cannot.
Hybrid approaches combining multiple fiber techniques have gained popularity in contemporary crafting. Examples include textile-lined baskets, woven baskets with macramé embellishments, or incorporation of beadwork into weaving. These combinations allow crafters to express creativity while building on skills from various traditions.
If you enjoy the meditative rhythm of yarn crafts but desire more structural outcomes, basket weaving offers a natural extension of your creative practice. Conversely, if you find knitting or crochet too repetitive, basket weaving’s varied techniques and visible progress might provide greater satisfaction.