
Introduction to Basket Weaving: A Timeless Art for Beginners
Basket weaving is one of humanity’s oldest crafts, involving the interlacing of flexible materials to create containers, storage solutions, and decorative items. This ancient skill spans virtually every culture on earth, with evidence of basket making dating back thousands of years. What makes basket weaving particularly appealing for beginners is its accessibility and forgiving nature.
The craft offers several benefits for those just starting out:
- Uses readily available materials, many of which can be found in nature or repurposed
- Basic techniques quickly yield satisfying, functional results
- Provides therapeutic, meditative benefits through rhythmic weaving motions
- Develops hand coordination and spatial awareness skills
The versatility of basket weaving allows beginners to create everything from simple catch-all containers to decorative wall hangings and even sustainable alternatives to plastic storage. While mastering the craft takes time, even first projects can be both beautiful and functional.
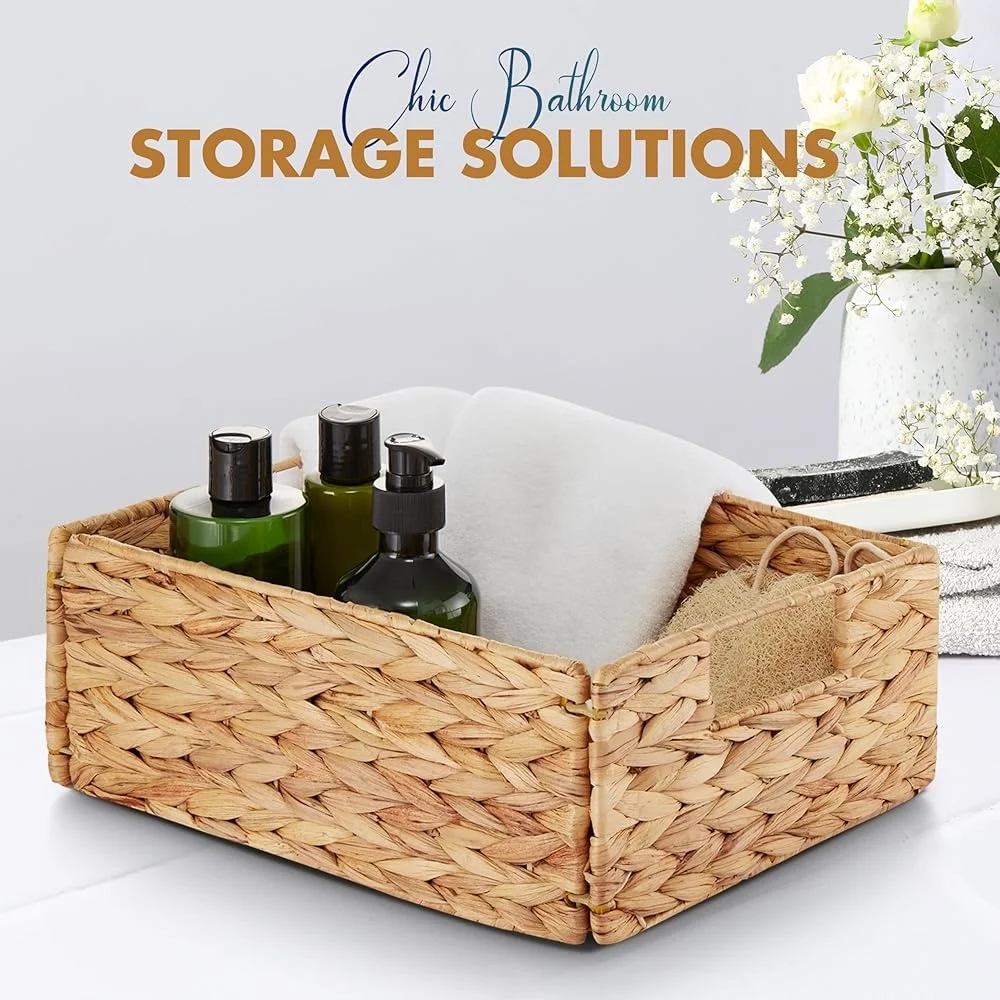
Modern organizing laundry wicker baskets draw directly from these traditional weaving techniques, demonstrating how this ancient craft continues to serve practical needs today. With patience and practice, you’ll develop the skills needed to create increasingly complex and refined pieces, following in the footsteps of the many beginner guide basket weaving enthusiasts who have discovered this rewarding craft.
Essential Basket Weaving Terminology for Beginners
Before diving into your first project, familiarizing yourself with basic basket weaving vocabulary will help you understand instructions and communicate about your craft. These fundamental terms form the language of basket making.
Structural Components:
– Base – The foundation of your basket that forms the bottom
– Spokes (warps) – The rigid elements that provide structure, typically radiating from the center of the base and forming the vertical supports of the sides
– Weavers (wefts) – The flexible materials woven around the spokes to create the basket’s body
– Rim – The finished edge at the top of the basket that provides stability and a clean appearance
– Border – The decorative finishing technique used on the rim
Basic Weaving Actions:
– Over/Under – The most fundamental weaving motion, alternating the weaver over one spoke and under the next
– Upsetting – Bending the spokes upward to form the sides of the basket
– Twining – A technique using two weavers twisted around the spokes for strength
– Coiling – Wrapping material around a central core in a spiral pattern
– Plaiting – Weaving flat materials in a checkerboard pattern
Material Preparation Terms:
– Soaking – Immersing materials in water to increase flexibility
– Sizing – Cutting materials to specific lengths before beginning
– Splitting – Dividing thicker material into usable strips
– Dampening – Keeping materials moist during the weaving process
Understanding these terms will make following patterns much easier and help you communicate with other weavers. The proper use of essential tools basket weaving guide depends on familiarity with these concepts, as each tool serves a specific purpose in the preparation and manipulation of your weaving materials.
Selecting Beginner-Friendly Weaving Materials
Reed: The Classic Beginner’s Choice
Reed is the most common and versatile material for new basket weavers. This natural material comes from the inner core of rattan palm and is available in several forms:
- Flat reed: Comes in various widths (1/4” to 1” being most common), ideal for weavers
- Round reed: Available in different diameters, excellent for rigid spokes and decorative elements
- Oval reed: Combines the best qualities of flat and round, good for rims and handles
Reed requires soaking in warm water for 10-15 minutes before use to make it pliable. The thinner the reed, the less soaking time needed. Once soaked, it becomes remarkably flexible while maintaining strength. Reed is widely available at craft stores and online suppliers, takes dye well, and creates durable baskets.
Paper Materials: Readily Available Alternatives
For those wanting to start with materials already at home, paper offers an excellent entry point:
- Newspaper strips rolled into tight tubes create surprisingly strong weaving elements
- Magazine pages add colorful patterns without requiring additional decoration
- Kraft paper (like paper grocery bags) provides sturdier, more uniform materials
- Paper can be sealed with mod podge or clear acrylic spray for durability
Paper materials are best suited for smaller decorative baskets rather than items that will carry heavy loads. The preparation involves cutting consistent strips and rolling them tightly into tubes, sometimes using a thin knitting needle as a guide.
Natural Materials for Simple Projects
Nature provides numerous materials suitable for beginner projects:
- Raffia: A palm fiber that’s extremely flexible and available in natural and dyed colors
- Jute: Strong twine that creates rustic-looking baskets
- Willow: Fresh, green willow branches can be harvested and used immediately
- Grasses: Many long ornamental grasses can be dried and used for weaving
These materials often require specific preparation techniques, like drying or curing, but offer a connection to traditional basket making practices. Most work best for smaller projects while developing skills.
Our store offers beautiful examples of finished wicker baskets that demonstrate the potential of reed weaving. For those interested in exploring different textures, our rattan baskets showcase another popular natural material with distinctive characteristics.
Essential Tools for Your First Basket Project
Starting basket weaving doesn’t require an extensive tool collection. Most beginners can gather what they need from around their home. These basic tools will help you create your first several projects successfully:
- Scissors or craft knife – For cutting reed, paper, and other materials cleanly
- Measuring tape or ruler – Ensures consistent spoke and weaver lengths
- Soaking container – A shallow pan, basin, or even bathtub for preparing reed
- Spray bottle – Keeps materials damp while working
- Clothespins or small clips – Holds ends in place temporarily during weaving
- Awl or knitting needle – Creates spaces between tightly packed weavers
- Pencil – Marks materials before cutting and can shape round bases
Optional but helpful tools as you progress:
- Diagonal cutters – Makes clean cuts on thicker materials
- Bone folder – Helps crease and flatten materials
- Sandpaper (medium grit) – Smooths rough edges and splinters
- Small bucket – Dedicated water container for reed soaking
The specific tools you’ll need may vary slightly depending on your guide basket weaving styles and the materials you choose to work with. Most importantly, gather tools that feel comfortable in your hands, as you’ll be using them for extended periods.
Preparing Materials: The Critical First Step
Proper material preparation is perhaps the most crucial yet often overlooked aspect of successful basket weaving. Taking the time to prepare your materials correctly will make the weaving process significantly easier and result in a more attractive finished product.
For reed, which is the most common beginner material, soaking is essential. Place your reed in warm (not hot) water for the appropriate amount of time:
- Thin flat reed (1/4”): 5-10 minutes
- Medium flat reed (3/8” to 1/2”): 10-15 minutes
- Thick flat reed (over 1/2”): 15-20 minutes
- Round reed: Approximately 15-20 minutes
You’ll know reed is properly soaked when it changes from rigid to flexible and can be bent into a U-shape without cracking or splitting. Oversoaking can cause reed to become too soft and lose structural integrity, so monitor your timing carefully.
For paper materials, preparation involves cutting consistent strips and creating tubes:
1. Cut newspapers or magazines into strips of equal width (typically 1/2” to 1” wide)
2. Place a thin knitting needle at one corner of a strip at a 45-degree angle
3. Roll the paper tightly around the needle
4. Secure the end with a tiny dab of glue if needed
5. Remove the needle, leaving a hollow tube for weaving
Always prepare more material than you think you’ll need, as it’s frustrating to pause mid-project for additional preparation. Keep a spray bottle nearby to dampen materials that begin drying out during your weaving process.
More detailed material preparation techniques for various natural fibers can be found in our DIY wicker basket weaving tutorials, which cover everything from harvesting natural materials to preparing them for specific project types.
Fundamental Basket Weaving Techniques for Beginners
Creating a Sturdy Base
The base forms the foundation of your basket and determines its shape and stability. There are two common approaches for beginners:
Even-Number Spoke Base:
1. Cut an even number of spokes (usually 8-12 for a first basket)
2. Divide spokes into two equal groups
3. Lay one group flat, parallel and evenly spaced
4. Weave the second group perpendicular through the first group, creating a grid
5. Secure the center point with a simple over-under weave using your first weaver
Odd-Number Spoke Base:
1. Cut an odd number of spokes (commonly 5, 7, or 9)
2. Arrange them like wheel spokes from a center point
3. Begin weaving around the center in a spiral pattern
4. This creates a more rounded base, ideal for circular baskets
The center point where spokes meet must be secured tightly, as any looseness will compromise the entire basket. Take your time with this crucial step.
Basic Weaving Patterns
Plain Weave (Over-Under):
1. Start with your weaver behind a spoke
2. Bring the weaver over the next spoke, then under the following one
3. Continue this alternating pattern around the basket
4. When beginning the next row, offset the pattern (go under if the previous row went over)
5. This creates the classic checkerboard pattern visible in many baskets
Simple Twining:
1. Use two weavers simultaneously, starting behind adjacent spokes
2. Cross the right weaver over the left, between spokes
3. Continue around the basket, crossing right over left between each spoke
4. This creates a twisted rope appearance and adds structural strength
Pairing Technique:
1. Similar to twining but each weaver goes around only one spoke at a time
2. Creates a distinctive pattern while providing excellent structure
3. Particularly useful for securing the base and starting the sides

Shaping Your Basket
“Upsetting” is the technique of bending the spokes upward to form the sides of your basket:
- After completing the base, soak the spokes again to ensure flexibility
- Bend each spoke upward at a 90-degree angle from the base
- Hold spokes in position with clothespins if needed while beginning to weave the sides
For straight sides, keep spokes perpendicular to the base while weaving. For flared sides, gradually angle spokes outward as you weave upward. Maintaining even tension throughout the weaving process is essential for a symmetrical basket.
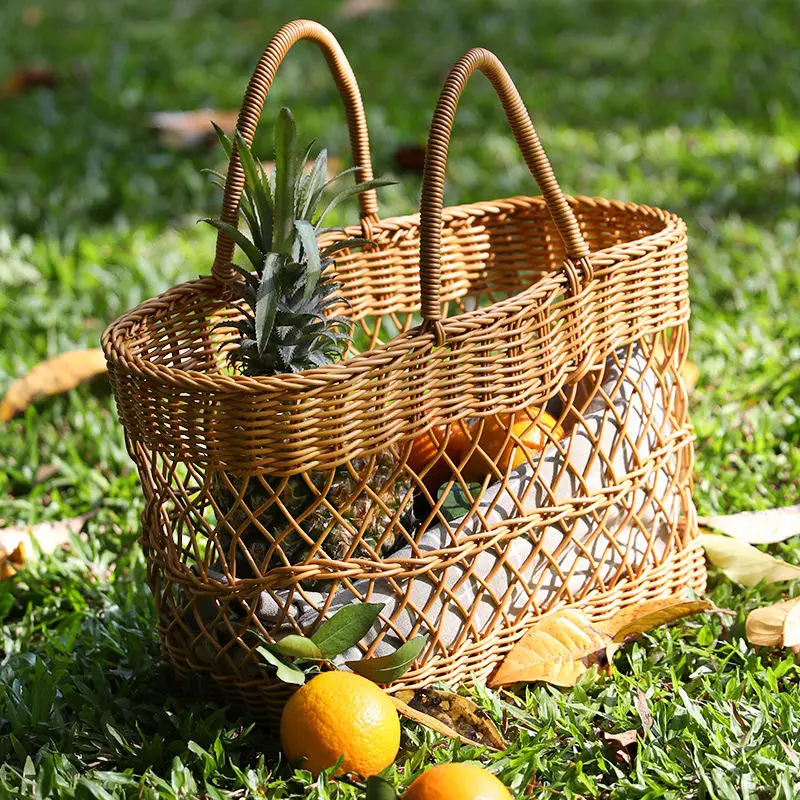
Our wicker baskets handles collection demonstrates various handle incorporation techniques, while our woven storage baskets showcase different patterns achieved through these fundamental techniques.
Your First Project: Simple Round Reed Basket
This project is designed specifically for first-time weavers and requires approximately 2-3 hours to complete. The finished basket will be roughly 6 inches in diameter and 4 inches tall—perfect for collecting small items on a desk or shelf.
Materials Needed:
– 8 pieces of 1/4” flat reed, 20” long (for spokes)
– 1 roll of 1/8” flat reed (for weavers)
– 1 piece of 3/8” flat reed, 30” long (for rim)
Tools Required:
– Basin for soaking reed
– Spray bottle
– Scissors
– Clothespins (10-12)
– Measuring tape
– Awl or knitting needle
Step-by-Step Instructions:
Prepare the base:
– Soak all reed pieces for 10-15 minutes
– Divide the 8 spoke pieces into two groups of 4
– Lay one group flat, parallel, and evenly spaced
– Weave the second group perpendicular through the first
– Adjust spokes to form an even asterisk pattern with equal spacingSecure the center:
– Begin with your thinnest reed (1/8”)
– Weave over and under around the center point 3 times
– Pull gently but firmly to tighten the center
– Keep the base flat on your work surfaceContinue base weaving:
– Maintain the over-under pattern around the spokes
– Complete approximately 10-12 rounds or until your base is about 4 inches in diameter
– Keep reed damp with spray bottle as needed
– Ensure the base remains flat and the weaving tightCreate the sides (upsetting):
– Bend each spoke upward at a 90-degree angle
– Secure temporarily with clothespins if needed
– Ensure all spokes are evenly spacedWeave the sides:
– Continue the over-under pattern around the upright spokes
– Complete 10-12 more rounds, or until desired height (about 4 inches)
– Maintain even tension for straight sides
– Add new weavers as needed by overlapping endsFinish the rim:
– Soak the 3/8” rim piece thoroughly
– Bend it around the top of the basket, inside the spokes
– Secure temporarily with clothespins
– Trim spoke ends to 2” above rimComplete the border:
– Bend each spoke over the rim
– Tuck each spoke end into the weaving, using your awl to create space
– Trim any protruding ends flush with the basket
Your finished basket can be left natural or sealed with a clear spray lacquer for additional durability. Allow it to dry completely before using. This simple basket makes an excellent catchall for keys, jewelry, or other small items.
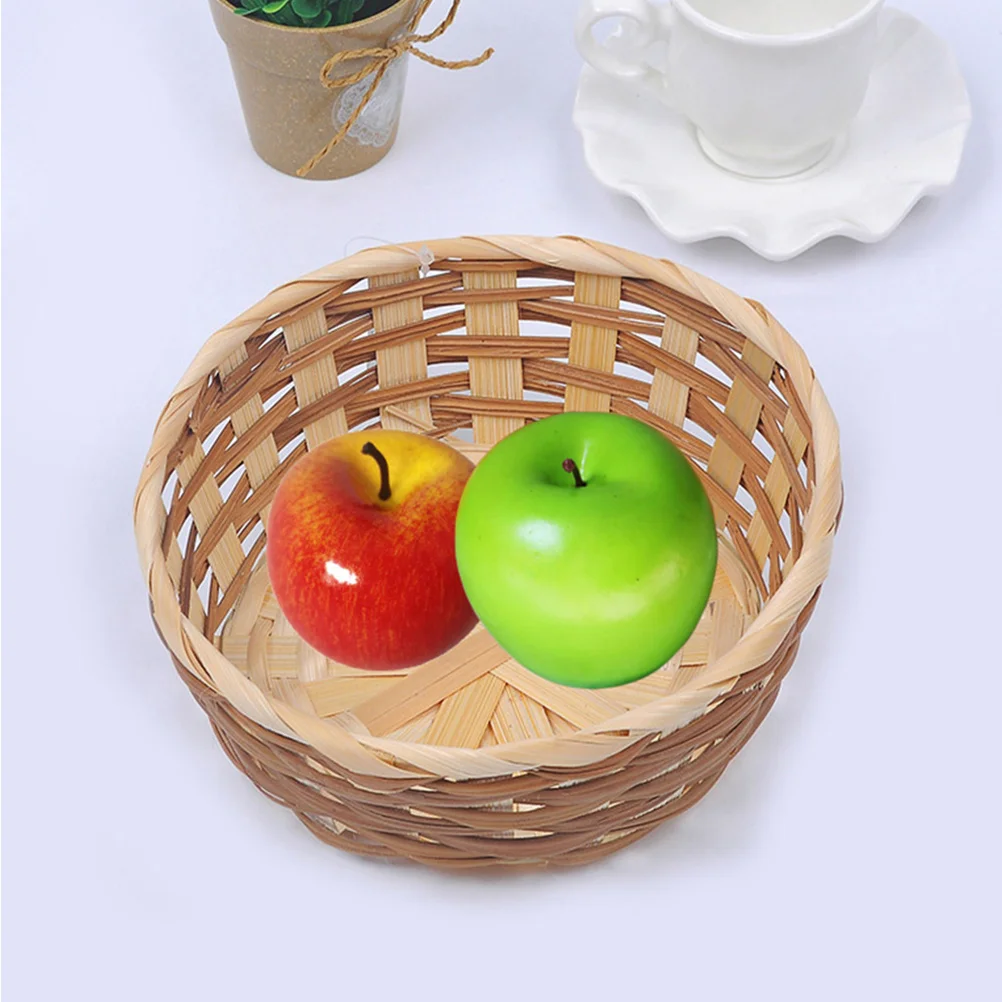
For inspiration on more rounded designs, browse our round wicker baskets collection, which showcases the elegant simplicity possible with these basic techniques.
Troubleshooting Common Beginner Issues
Even experienced basket weavers encounter challenges. Here are solutions to the most common problems beginners face:
Uneven weaving with gaps
Problem: Your weaving shows noticeable gaps or bulges.
Solution: Maintain consistent tension by gently pulling each weaver as you go. After completing each row, go around and adjust tension before starting the next row. Remember that too tight can be as problematic as too loose.
Base won’t lay flat
Problem: The base curls up or forms a bowl shape prematurely.
Solution: Place a heavy book on the base while weaving the first few rows. Make sure your tension isn’t too tight on the outer rows of the base. Periodically press the base flat against your work surface.
Spokes breaking during upsetting
Problem: Spokes crack when you bend them upward.
Solution: Ensure spokes are thoroughly soaked before bending. Re-soak if necessary. Bend gradually rather than forcing a sharp angle. If breaks occur, you can splice in a new piece by overlapping with the broken spoke.
Weavers keep breaking
Problem: Your weaving material cracks or breaks as you work.
Solution: Make sure materials are properly soaked. Thinner materials may need less soaking but more frequent dampening. Avoid sharp bends, especially against the grain of natural materials.
Uneven basket shape
Problem: Your basket isn’t symmetrical or leans to one side.
Solution: Count spaces between spokes to ensure they’re even. Use clothespins to hold spokes in place while establishing the sides. Periodically check your work from all angles and adjust as needed.
Difficulty adding new weavers
Problem: The joins between new and old weavers are visible or weak.
Solution: Overlap new and old weavers by at least 2-3 spokes. Start the new weaver behind a spoke, and end the old weaver behind a spoke. Trim ends only after the basket is complete.
Remember that minor imperfections add character to handmade items. Even if your first basket isn’t perfect, you’ll learn valuable lessons to apply to your next project.
Building Skills: Three More Easy Basket Weaving Projects
After completing your first basket, try these progressively challenging projects to expand your skills:
1. Small Oval Pencil Holder
– New Skills: Creating an oval base, managing different spoke lengths
– Materials: 1/4” flat reed for spokes, 1/8” flat reed for weaving
– Time Estimate: 2-3 hours
– Special Features: Introduces the “2-2 twill” pattern where weavers go over two spokes, under two spokes
2. Coiled Paper Bowl
– New Skills: Continuous coiling technique, using thread or twine for binding
– Materials: Newspaper tubes, jute or waxed linen thread, large-eye needle
– Time Estimate: 3-4 hours
– Special Features: Creates a completely different basket style using a spiral structure
3. Market Basket with Handle
– New Skills: Handle insertion, rim lashing, creating a rectangular base
– Materials: 3/8” flat reed for spokes, 1/4” flat reed for weaving, 1/2” round reed for handle
– Time Estimate: 4-5 hours
– Special Features: Introduces a swing handle that arches over the basket
Each project builds upon the fundamentals while introducing new techniques. The skills developed in these projects can help you better understand how effortless laundry organization wicker baskets combine both form and function in their design.
Once you’ve created several baskets, proper basket maintenance care guide practices become important to ensure your handcrafted pieces remain beautiful and functional for years to come.
Where to Find Quality Basket Weaving Supplies
Finding good materials is essential for successful basket making. Here are reliable sources for basket weaving supplies:
Specialty Craft Suppliers
These businesses focus specifically on basket weaving materials and offer the widest selection of reed, handles, and specialized tools. Most operate online with detailed catalogs and instructional resources. Expect to pay $25-40 for enough materials to make 2-3 small to medium baskets.
General Craft Stores
Chains like Michaels, Joann Fabrics, and Hobby Lobby carry basic reed and some tools in their weaving or floral departments. Selection is limited but convenient for beginners wanting to try the craft before investing heavily. Look for reed in the dried floral arrangement section if you can’t find a dedicated basket weaving area.
Starter Kits
Many suppliers offer beginner kits containing pre-cut materials and instructions for a specific project. These typically range from $15-30 and provide everything needed for one basket. These kits eliminate guesswork about quantities and sizes, making them ideal for first-time weavers.
Alternative and Repurposed Sources
Consider these creative alternatives for budget-conscious beginners:
– Garden centers for willow and natural materials
– Paper recycling for newspaper and magazine weaving
– Hardware stores for clothesline cord and similar materials
– Dollar stores for plastic-coated paper plate holders that can be unwound and rewoven
When purchasing materials, look for consistent color, smooth texture without splinters, and flexibility when bent gently. For reed, avoid pieces with visible mold, discoloration, or brittleness.
Tips for Success in Basket Weaving
- Set up your workspace at a comfortable height to prevent back strain
- Work over a towel to catch drips from dampened materials
- Keep a spray bottle within reach to rewet materials as needed
- Use good lighting to see your weaving pattern clearly
- Take breaks to rest your hands and assess your progress
- Store unused reed flat to prevent warping
- Wear an apron to protect clothing from water and dyes
- Start with lighter-colored materials as they’re easier to see while learning
- Practice consistent tension rather than pulling too tight
- Embrace small imperfections as part of the handmade charm
- Take photos of your work at different stages to track your progress
Understanding how these techniques translate to commercial products can help you appreciate the craftsmanship in best wicker baskets laundry organization pieces available for purchase.
Resources for Continuing Your Basket Weaving Journey
As your skills develop, explore these resources to expand your basket weaving horizons:
Online Learning
Video tutorials on platforms like YouTube offer free visual instruction for specific techniques and projects. Websites dedicated to basket weaving often feature free patterns, tips, and troubleshooting advice. Online courses through platforms like Craftsy and Udemy provide structured learning with instructor feedback.
Books
Look for titles specifically for beginners that include clear photographs or illustrations. The Basket Book by Lyn Siler and Basic Basket Making by Linda Franz are excellent starting points with progressive projects.

Black Wicker Baskets, Rattan Storage Baskets, Tall Wicker Baskets, Wicker Shelf Baskets, Woven Storage Baskets
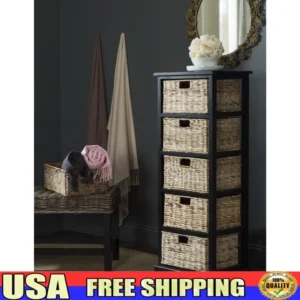
5-Tier Distressed Black Wood Frame Storage Tower with Removable Wicker Baskets for Home Organization$715.80 Select options This product has multiple variants. The options may be chosen on the product page
Wicker Laundry Baskets, Woven Laundry Baskets, Woven Storage Baskets
$392.02 Select options This product has multiple variants. The options may be chosen on the product page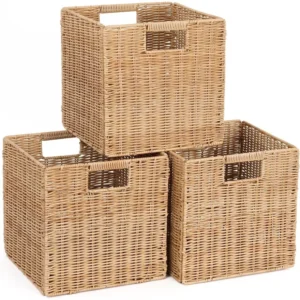
Rattan Shelf Baskets, Rattan Storage Baskets, Small Wicker Baskets, Square Wicker Baskets
Square Plastic Wicker Storage Baskets Set of 3 with Collapsible Design for Cube Storage Organization$185.47 Select options This product has multiple variants. The options may be chosen on the product page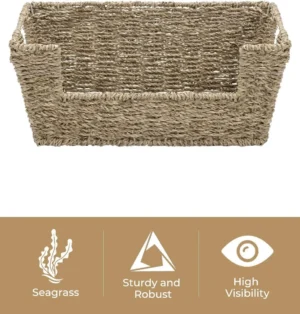

Wicker Baskets with Handles, Wicker Storage Baskets, Woven Storage Baskets
$137.92 Select options This product has multiple variants. The options may be chosen on the product page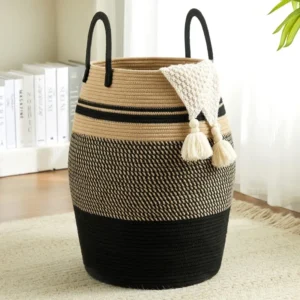
Large Wicker Laundry Baskets, Tall Wicker Baskets, Woven Laundry Hampers, Woven Storage Baskets
$130.54 Select options This product has multiple variants. The options may be chosen on the product page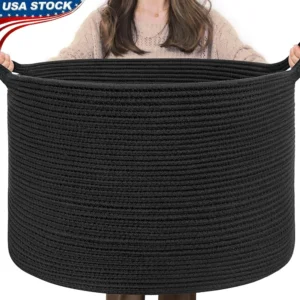
Wicker Blanket Baskets, Woven Laundry Baskets
$89.60 Select options This product has multiple variants. The options may be chosen on the product page
Advanced Techniques to Explore
After mastering basic weaving, consider exploring:
– Twill patterns (over-under variations)
– Continuous weave methods
– Color incorporation through dyed materials
– Sculptural and non-traditional forms
– Embellishment techniques like beading and wrapping
Community Resources
Local guilds and weaving groups offer hands-on instruction and community support. Check community education programs, art centers, and botanical gardens for workshops. Craft fairs often feature demonstrations by basket makers willing to share techniques.
Tidy Treasure’s Premium Basket Collection
Once you’ve tried your hand at basket weaving, you’ll develop a deeper appreciation for the craftsmanship in professionally made pieces. Understanding the techniques, time, and skill involved helps explain why quality baskets command higher prices than mass-produced alternatives.
Tidy Treasure’s premium wicker and rattan collection represents the pinnacle of basket crafting. Each piece in our collection demonstrates master-level execution of the fundamental techniques you’ve been learning. When examining quality baskets, look for these indicators of superior craftsmanship:
- Even, consistent weaving without gaps or bulges
- Sturdy construction with no loose ends or wobbling
- Smooth finishes without rough edges or splinters
- Tight, secure rim finishing that won’t unravel
- Well-proportioned design with balanced dimensions
Our wicker storage baskets combine these quality indicators with thoughtful design features that enhance both form and function. The knowledge you’ve gained through creating your own baskets will help you recognize and appreciate these premium qualities.
Whether you become an avid basket maker or simply gain appreciation for this ancient craft, understanding basket weaving connects you to a global tradition that spans cultures and centuries while creating beautiful, functional items for everyday use.